http浏览服务器文件
有了服务器,我们自然会有这样的需求:把一些内容传到服务器上,方便其他人访问或自己在其他设备(如手机)上,通过浏览器直接访问。我们需要它能完成以下功能:
- 能让我们自己点进(或退出)层层文件夹,展示当前文件夹下的所有文件/文件夹
- 点击文件,能够看到文件内容
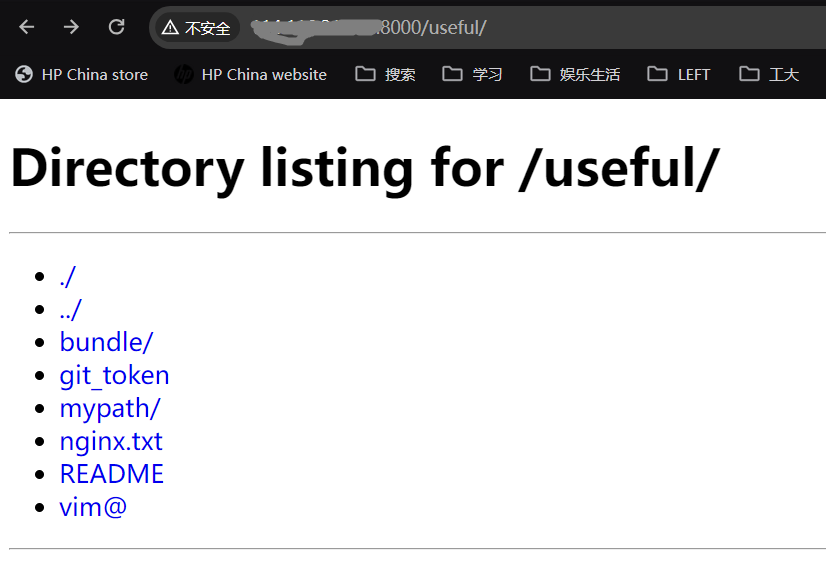
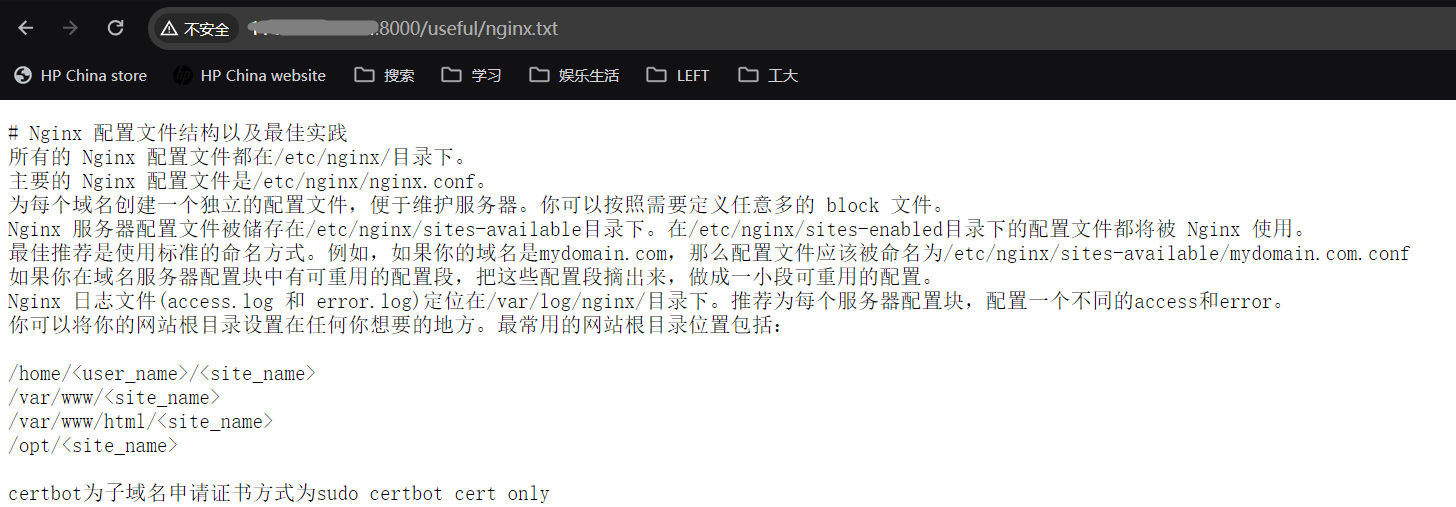
点击进入文件nginx.txt,我们要求看到文件的内容:
既要看文件内容,又要能浏览不同的文件夹。这个功能如果直接用程序或 nginx 实现似乎有些新手不友好。没事,python3
为我们提供了这个功能,脚本为/usr/lib/python3.x/http/server.py。使用时执行以下命令即可:
python3 -m http.server但 python 提供的脚本有些不尽人意:
- 遇到当前路径有
index.html就展示网页,而不是展示当前路径下的文件 - 无法回退到上层文件夹
- 无法查看文件详细信息
- 浏览普通文件时,响应头没有指定文件编码,导致文件显示乱码
- 无法方便地上传文件
处于以上种种原因,我对该程序做了一点点修改。修改后的脚本我选择放在/usr/lib/python3.x/http/myserver.py(和原有server.py放在一起)。代码全文我放在了这里。在这里仅对修改的部分加以说明。
首先,为了完成以下功能,需要引入几个新的模块:
import cgi
import pwd
import grp
import time
import stat
import math
遇到 index.html 时
在http.server(源码路径/usr/lib/python3.x/http/server.py)第 710
行(def send_head函数)中有这样一段:
for index in "index.html", "index.htm":
    index = os.path.join(path, index)
    if os.path.isfile(index):
        path = index
break可以看到,该段代码的作用就是当请求的路径是一个文件夹且该文件夹下有index.html或index.htm,则将该文件作为响应内容返回。这一点对于一般的网页服务器来说是不错的,但咱们需要的是浏览服务器文件,而不是展示网页根目录,所以不需要这个功能,该段代码删除即可。
浏览文件出现乱码
你可能会问,上边看到的 html 模板不是已经明文规定编码是utf-8了吗,,怎么还会乱码?没错,html 是说明编码了,但我们除了浏览以 html
形式展示的目录连接之外,还是要看文件内容的,文件里或多或少都会有点中文不是吗?对于文件而言,编码必须由 http 的响应头指出,否则客户端就会根据文件内容猜测其编码然后展示出来,就成了乱码。
# http.server, line 763
# also in the function 'send_head'
# this line and its context are about http response header
self.send_header("Content-type", ctype)
# change it into the below
self.send_header("Content-type", ctype + "; charset=utf-8")
展示所有文件和文件夹
在server.py第 772
行,有一个list_directory函数,是用来展示当前路径下有哪些文件或文件夹的,但是这有个缺陷,就是只能点进下一级文件夹,但无法返回上一级。为此,我们需要做一些修改:
def list_directory(self, path):
    try:
        list = os.listdir(path)
    except OSError:
        self.send_error(
            HTTPStatus.NOT_FOUND,
            "No permission to list directory")
        return None
    # 添加这一行,使得可以返回上一级和维持本级
    # 以使展示更贴近于Linux的展示
    list.extend([".",".."])
    # 排序方式原来是完全按照字母顺序,不甚方便
    # 修改为文件夹排在文件之前,各自按照字母排序
    # list.sort(key=lambda a: .lower())
    list.sort(key=lambda a: (not os.path.isdir(os.path.join(path,a)),a.lower()))
可能你已经注意到了,主要的展示目录的界面就是这个函数底下的 html 模板。下面我们会经常修改这个模板的。
文件详细信息展示
有时候我们需要的不仅仅是文件本身,还需要关注文件的详细信息,如用户权限、文件大小、修改日期之类的。这些信息在 Linux
系统中通常使用命令ls -l或其别名ll来查看。我想要模仿这个命令的输出格式,做一些微调:
- 第一列是文件名,是一个超链接,这个不必说
- 第二列是目录类型和其权限位
- 第三列是目录的硬链接数目,文件是 1,目录则是其下的文件和文件夹总数(包括
.和..) - 第四列、第五列分别是文件的所有者和所属组
- 第六列文件大小,按照人可读的方式展示(也就是使用适当的单位)
- 第七、第八列是创建时间和修改时间
为了实现以上目的,我们不能继续使用无序列表来展示信息,而是应当改为表格;同时需要注意的是:
- 既然要展示权限位,必然需要使用等宽字体。这里我选择整个 html 均使用等宽字体
- 为了美观,目录超链接的样式我做了一些修改,主要是去除了其下划线、设置无论是否访问过都显示为同一个颜色
- 还做了其他一些小的样式修改
enc = sys.getfilesystemencoding()
title = f'Directory listing for {displaypath}'
r.append('<!DOCTYPE HTML>')
r.append('<html lang="en">')
r.append('<head>')
r.append(f'<meta charset="{enc}">')
r.append(f'<title>{title}</title>')
r.append('table{border-collapse:separate;}td,th{padding:0 13px;}.size{text-align:right;}body{font-family:"Courier New",monospace;}h1{font-size:30px;margin-bottom:0;}a{text-decoration:none;}a:link{color:#0000EE;}a:visited{color:#0000EE;}a:hover{color:#0000EE;}a:active{color:#0000EE;}</style>')
r.append('</head><body>')
r.append(f'<h1>{title}</h1>')
r.append('<hr>')
r.append('<table><tr><th>Name</th><th>Permissions</th><th>Hard Links</th><th>Owner</th><th>Group</th><th>Size</th><th>Creation Time</th><th>Last Modified</th></tr>')
for name in list:
    fullname = os.path.join(path, name)
    displayname = linkname = name
    # Append / for directories or @ for symbolic links
    if os.path.isdir(fullname):
        displayname = name + "/"
        linkname = name + "/"
    if os.path.islink(fullname):
        displayname = name + "@"
        # Note: a link to a directory displays with @ and links with /

    # Add detailed information for each file/directory
    stat_info = os.stat(fullname)
    mode = stat.filemode(stat_info.st_mode)
    hard_links = stat_info.st_nlink
    owner = pwd.getpwuid(stat_info.st_uid).pw_name
    group = grp.getgrgid(stat_info.st_gid).gr_name
    size_bytes = stat_info.st_size
    # 文件大小需要可读
    if size_bytes == 0:
        size = '0B'
    size_name = (' B', 'KB', 'MB', 'GB')
    i = int(math.floor(math.log(size_bytes, 1024)))
    p = math.pow(1024, i)
    s = size_bytes / p
    size = '%.2f %s' % (s, size_name[i])
    creation_time = time.strftime('%Y-%m-%d %H:%M:%S', time.localtime(stat_info.st_ctime))
    last_modified = time.strftime('%Y-%m-%d %H:%M:%S', time.localtime(stat_info.st_mtime))

    r.append('<tr><td><a href="%s">%s</a></td><td>%s</td><td>%d</td><td>%s</td><td>%s</td><td class="size">%s</td><td>%s</td><td>%s</td></tr>'
            % (urllib.parse.quote(linkname, errors='surrogatepass'),
               html.escape(displayname, quote=False),
               mode, hard_links, owner, group, size, creation_time, last_modified))
r.append('</table>\n</body>\n')
r.append('''
<script>
onload = () => {
    document.getElementById('file').addEventListener('change', function() {
        var files = this.files;
        var fileNames = '';
        for (var i = 0; i < files.length; i++) {
            fileNames += files[i].name + '\\n';
        }
        confirm('Are you sure you want to upload these files?\\n' + fileNames);
    });
}
</script>
''')
r.append('</html>\n')
encoded = '\n'.join(r).encode(enc, 'surrogateescape')
f = io.BytesIO()
f.write(encoded)
f.seek(0)
self.send_response(HTTPStatus.OK)
self.send_header("Content-type", "text/html; charset=%s" % enc)
self.send_header("Content-Length", str(len(encoded)))
self.end_headers()
return f
到了这一步,整体的布局美观了不少,可以称得上是赏心悦目了。
文件上传
其实轮起来,文件上传这个功能我本是不需要的,我所有设备都能通过scp将文件上传到服务器上。这一切,都是被微信逼的。
前两天,东方直心前辈想要用微信给我发他最新修改的《毛泽东大传》,一连几次打包发我,我都没收到,只能解释为被微信截胡了。没办法,我又不能教老人用什么太繁杂的方法,因而一连几天搞这个文件上传功能,最终在黄四郎同志和 gpt、copilot 的帮助下,完成了这个功能。
首先,我们需要一个按钮来供使用者上传文件。为了整体页面协调,我选择将上传表单与 h1 放在同一行,都在分割线上方,表单靠右显示;且由于 h1 与表单大小不一,表单太靠上不好看,于是设置二者对齐方式为基线对齐,并取消了 h1 与表单的内外留白。
涉及的 html 模板修改情况如下:
title = f'Directory listing for {displaypath}'
r.append('<!DOCTYPE HTML>')
r.append('<html lang="en">')
r.append('<head>')
r.append(f'<meta charset="{enc}">')
r.append(f'<title>{title}</title>')
r.append('<style>input[type="file"],input[type="submit"] {font-size:1em;position:relative;top:100%;}table{border-collapse:separate;}td,th{padding:0 13px;}.size{text-align:right;}body{font-family:"Courier New",monospace;}form{padding:0;margin:0;}h1{font-size:30px;margin-bottom:0;}a{text-decoration:none;}a:link{color:#0000EE;}a:visited{color:#0000EE;}a:hover{color:#0000EE;}a:active{color:#0000EE;}</style>')
r.append('</head><body>')
r.append('<div style="display:flex;justify-content:space-between;align-items:baseline;">')
r.append(f'<h1>{title}</h1>')
r.append('<form action="" method="post" enctype="multipart/form-data">')
r.append('<input type="file" name="file" id="file" multiple>')
r.append('<input type="submit" value="Upload">')
r.append('</form></div>')
r.append('<hr>')
修改的内容主要是 css 样式和添加了上传表单。
接下来,我们需要在do_POST函数中处理上传的文件。这里我使用了cgi模块,该模块可以帮助我们处理上传的文件。在do_POST函数中,我们需要添加以下代码:
# 注意是class SimpleHTTPRequestHandler的do_POST函数
# 不要搞错了
def do_POST(self):
    # 获取请求路径
    path=self.translate_path(self.path)
    form = cgi.FieldStorage(
        fp=self.rfile,
        headers=self.headers,
        environ={'REQUEST_METHOD': 'POST',
                 'CONTENT_TYPE': self.headers['Content-Type'],
                 })

    files=form['file']
    uploaded_filenames = []
    # 只上传了一个文件和上传了多个文件,是需要分别处理的
    if isinstance(files, list):
        for uploaded_file in form['file']:
            filename = os.path.join(os.getcwd(), path,uploaded_file.filename)
            with open(filename, 'wb') as f:
                f.write(uploaded_file.file.read())
            uploaded_filenames.append(uploaded_file.filename)
    else:
        filename = os.path.join(os.getcwd(), path,files.filename)
        with open(filename, 'wb') as f:
            f.write(files.file.read())
        uploaded_filenames.append(files.filename)

    self.send_response(200)
    self.send_header('Content-type', 'text/html')
    self.end_headers()
    # Format the string with the filenames
    html_string = '''
        <!DOCTYPE html>
        <html>
        <head>
            <title>File Upload</title>
            <script>
                window.onload = function() {
                    // Display a popup notification
                    alert("Files uploaded successfully: %s");

                    // Refresh the current page with a GET request
                    window.location.reload(true);
                };
            </script>
        </head>
        <body>
        </body>
        </html>
    ''' % '\n'.join(uploaded_filenames)

    # Convert the string to bytes and write it to the response
    enc='utf-8'
    self.wfile.write(html_string.encode(enc, 'surrogateescape'))
后续
到了这一步,可以说基础功能完全符合我们的需求了。后续有时间有想法的话,可以加上这么一些功能:
- 自动查看文件类型,将如果属于特定类型的代码,就不采用源文件传回而是使用 html 传回,并使用本网站已有的高亮与一键复制办法,为代码文件进行高亮
- 对于 html 文件,应当提供查看源码和查看显示效果两种展示方式,供用户选择
- 能不能在前端就实现文件修改呢……
结束
在经历以上的修改之后,原来的http.server改造成为了一个更加适合免登录浏览服务器文件的工具。再次说明,我修改后的文件在这里。如果你想要使用,可以将其放在/usr/lib/python3.x/http/myserver.py,然后使用以下命令启动:
python -m http.myserver > py_menu.log 2>&1 &这条命令会让这个进程在后台运行,并且将运行时的日志和报错信息输出到日志文件中,以备查看和随时确认是否有人在通过这个服务攻击你的服务器(服务连续运行三天,查看日志,你一定会被如此多数量的陌生 ip 访问吓到的)。
这个服务默认运行在 8000 端口,你可以按照文件最后的main函数里的参数来修改运行端口。到了这一步,你也可以像为其他网络服务配置 https 一样,使用你的网络服务软件(如
nginx、apache 之类)为之配置域名和 https 服务了,多好~
2024.1.3晚